Introduction
The ability to manipulate a camera’s aperture is essential for creative photography, controlling both depth of field and exposure. iPhone users, rejoice, as you too can mimic these effects with your smartphone. Recent advancements in iPhone camera technology allow you to replicate aperture adjustments, thus enhancing your mobile photography capabilities. In this comprehensive guide, we will explore how to adjust the aperture on your iPhone through detailed steps, tips, and examples to elevate your photography skills.
Understanding Aperture in Photography
Aperture is a core concept in photography, referring to the lens opening’s size that regulates the light entering the camera. Measured in f-stops (like f/1.8 or f/2.8), aperture sizes influence the image’s exposure and depth of field. A lower f-stop indicates a wider opening, letting in more light, which creates a shallow depth of field with a pleasing blurred background. Conversely, a higher f-stop results in a smaller opening, yielding a sharper and more detailed focus across the image.
Traditional photography enables physical aperture adjustments. However, with smartphones such as the iPhone, the aperture is fixed. Here is where Apple’s software innovations come into play, simulating aperture effects through computational photography.
How iPhone Simulates Aperture
Unlike traditional cameras, where physical adjustments to the lens opening are possible, iPhones simulate this effect using advanced software. Apple’s Portrait mode leverages dual-camera systems and computational algorithms to create depth maps of your subject. This simulation mimics the effect of a wide aperture by blurring the background and keeping the subject sharply in focus.
Grasping this simulation method is fundamental in mastering iPhone photography. By using Portrait mode, you gain control over depth of field, aligning with your creativity. Although not identical to traditional aperture adjustments, the results are profoundly similar, expanding your creative horizons.
Step-by-Step Guide to Adjust Aperture on iPhone
Delve into the practical methods for adjusting and simulating aperture on your iPhone. Here’s how you can take command of your photographic creations:
- Using Portrait Mode to Adjust Aperture
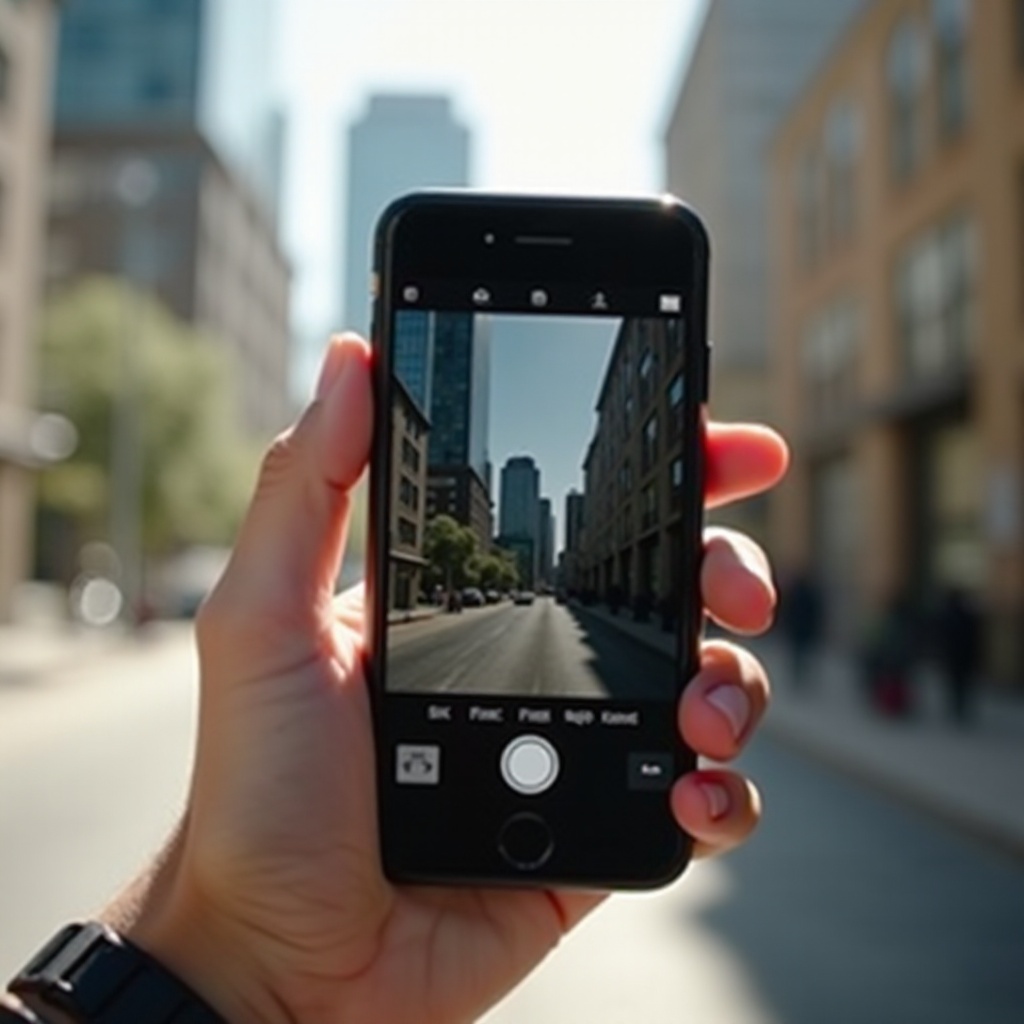
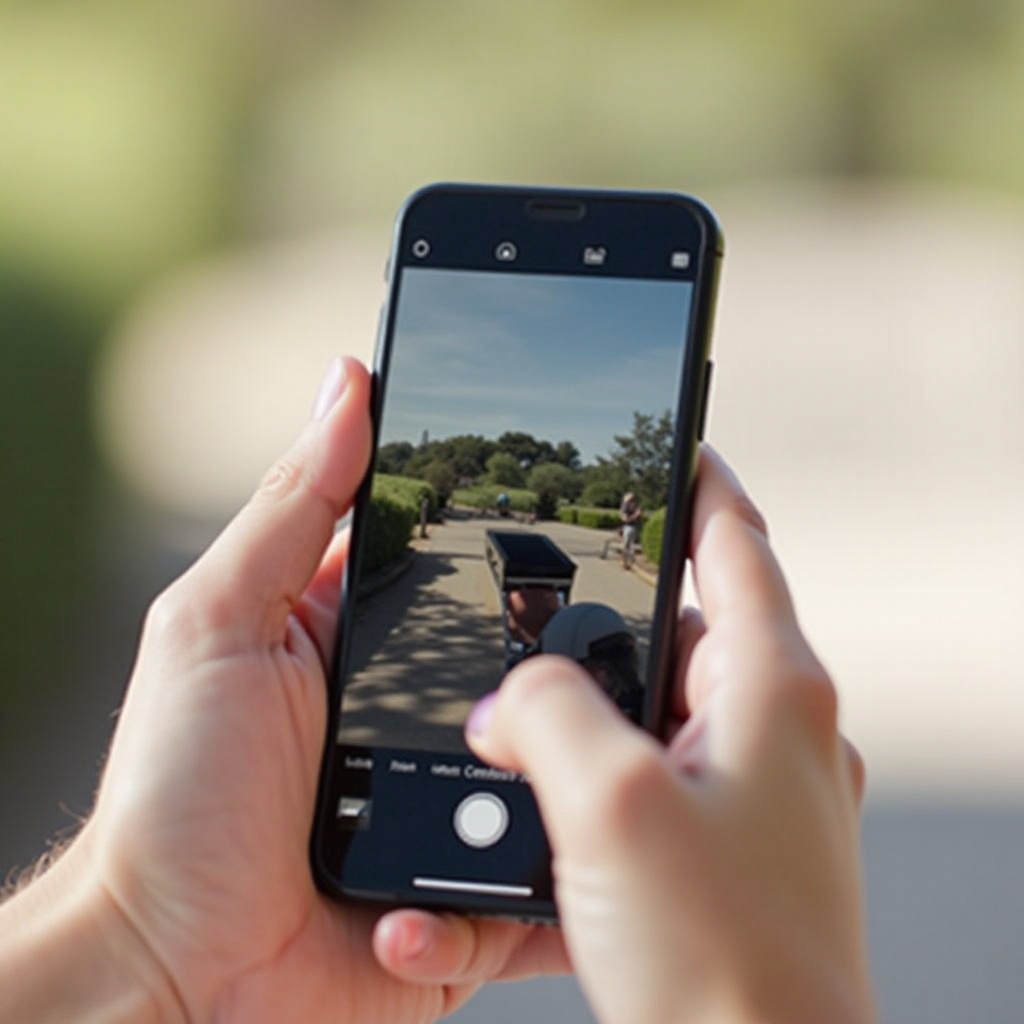
- Open the Camera app on your iPhone.
- Swipe to select Portrait mode.
- Ensure your subject is appropriately distanced to engage the depth effect.
- Notice the ‘f’ symbol in the top-right corner (available on supported models). Tap on it.
-
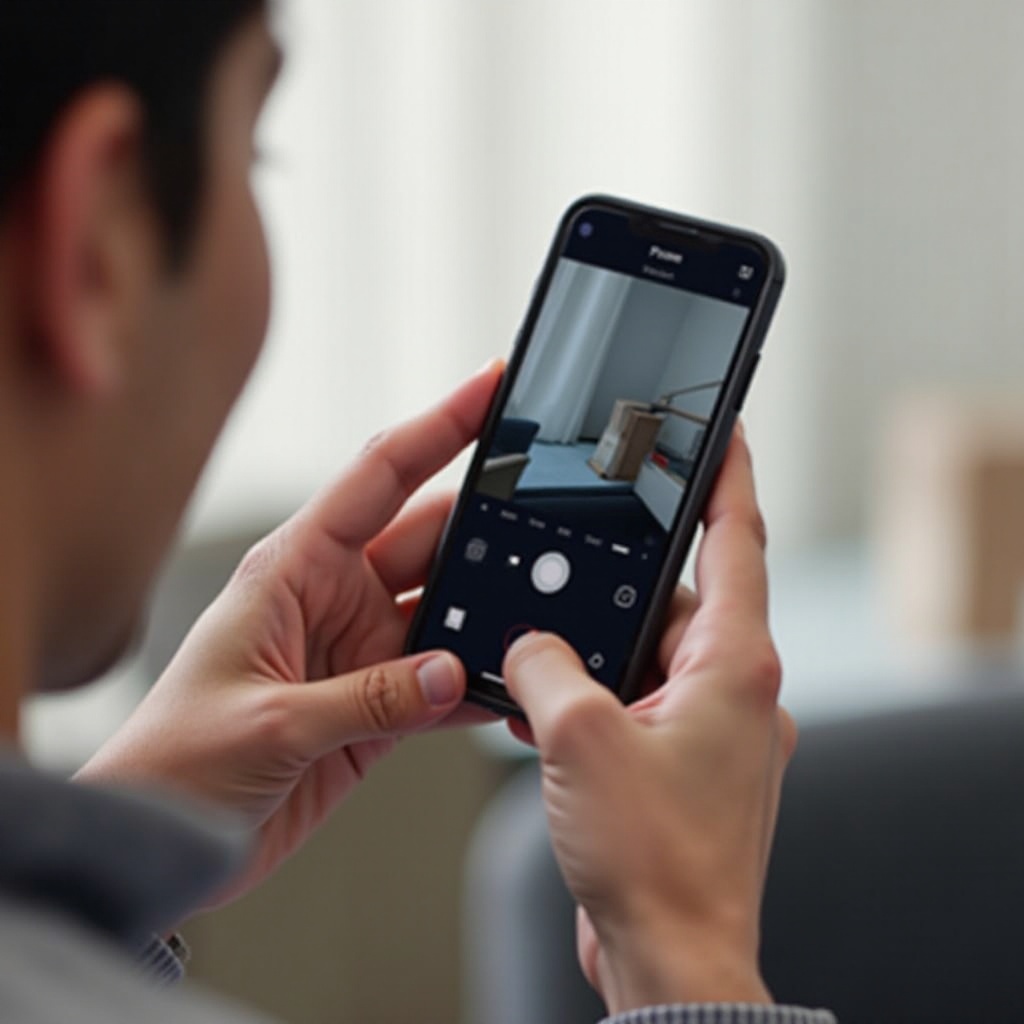
Adjust the depth effect using the slider; a lower f-stop number increases background blur.
-
Utilizing Third-Party Apps for More Control
- Explore applications like Halide or Camera+ that provide extensive manual control over photography.
- Upon installing an app, open it and allow necessary permissions.
- Find the aperture or depth controls, typically presented as a sliding scale, to tweak focus and background blur.
- Experiment with various settings to capture the desired effect.
With these steps, you can replicate aperture control on your iPhone, greatly enhancing your creative capabilities. The process empowers you to capture portraits and landscapes with refined composition and focus.
Tips for Mastering iPhone Aperture Adjustments
Having grasped how to adjust and replicate aperture effects, it is crucial to refine your technique to achieve impressive results. These tips will aid you in perfecting your photography skills:
- Best Practices to Follow
- Ensure your scene is well-lit to assist your iPhone camera in executing depth effects efficiently.
- Use grid lines in the Camera app to accurately align and compose your shots, making sure your subject is centered.
-
Keep your lens clean to capture clear and sharp images.
-
Common Mistakes to Avoid
- Avoid attempting Portrait mode in low-light conditions as this can lead to inadequate bokeh effects.
- Be cautious of complex backgrounds that might disrupt the depth effect.
- Don’t heavily rely on digital effects; integrate natural elements for authenticity.
By adhering to these practices, you can avoid common pitfalls, ultimately enhancing your photographic outputs with every capture.
Real-Life Examples of iPhone Aperture Adjustments
Understanding the capabilities of iPhone aperture adjustments is best illustrated through practical examples:
- Portraits in Natural Light: Capture a subject against a vibrant landscape with a blurred background using a low f-stop, ensuring the subject stands out beautifully.
- Urban Photography: Freeze the energy of a bustling city while keeping movement creatively blurred, emphasizing your stationary subject prominently.
These real-life scenarios showcase the transformative impact of iPhone aperture adjustments. By practicing these methods, your iPhone photography can compete with traditional camera setups.
Conclusion
Mastering aperture adjustments on an iPhone significantly advances your photographic range. Using both native features such as Portrait mode and external apps, you can gain heightened control over your images for more memorable and impactful photos. Persist in experimenting, maintain consistent practice, and watch your creativity thrive.
Frequently Asked Questions
Can you change the aperture on all iPhone models?
Not all iPhone models support Portrait mode or depth effect controls. Verify if your model includes these capabilities.
What third-party apps are best for adjusting aperture?
Halide and Camera+ are excellent apps, offering extensive manual controls for enhanced creative options.
How does adjusting the aperture impact photo quality?
Changing the simulated aperture affects depth, resulting in sharper subjects against a soft focus background, enriching photo quality.